When to Use 360 Video
360 Video is a great way to create more immersive media content for users to enjoy. As 360 videos captures everything around the camera, it offers a more unique perspective to many environments and offers and exceptional level of immersion. There are also a variety of ways that 360 videos can be integrated, from social media platforms such as Facebook and Twitter to loading into 360 VR headsets, this medium is flexible and can be used in a variety of different aspects. Current innovations within this medium has also made it easier for the end user to create, film and edit – now not only for professional workflows but also can be taught to end-users who don’t specialize in video production.
Stages of Production
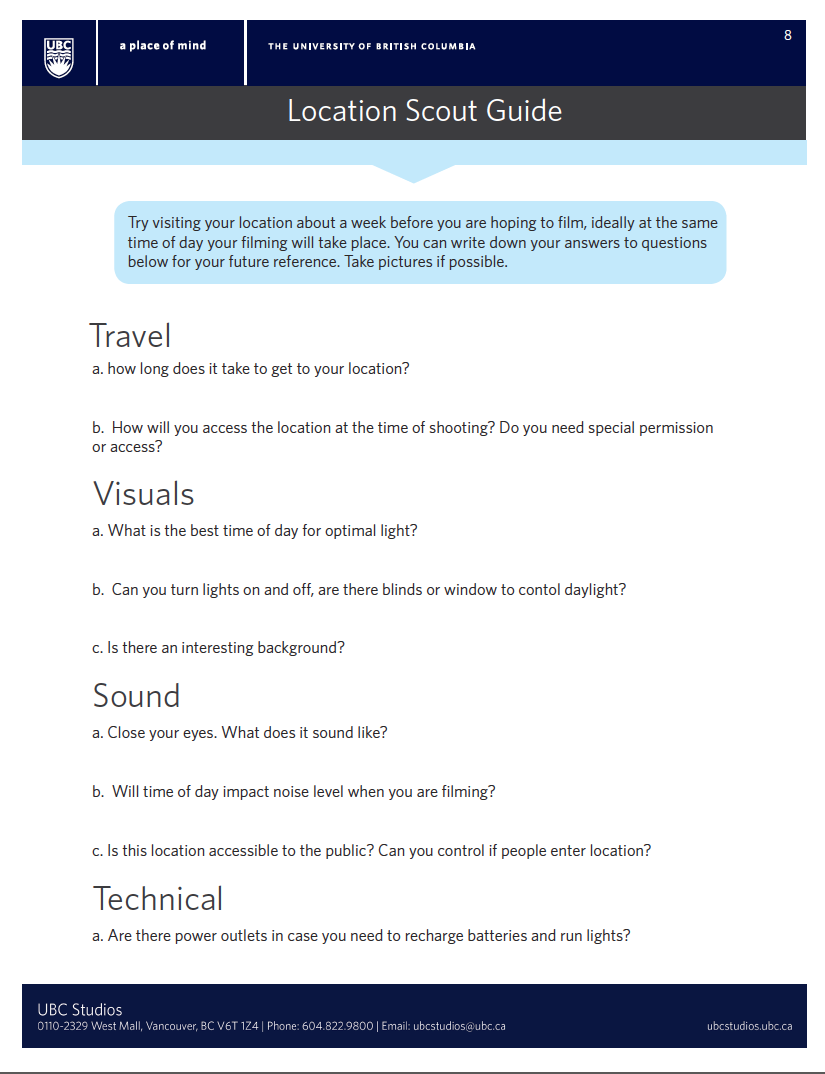
1. Plan Your Content
- The first step to take into account is to ask yourself "Why 360 Video?" A mistake that many users make is to use new technologies such as 360 video, when the media they are trying to present doesn't actually benefit from it. Make sure that the content that you are producing requires the immersion offered by this medium. An easy way to identify this would be to see if you are able to achieve the same goals for your content using traditional forms of media.
- Another point to take in mind is the location of your shot. Does it offer an unique perspective for the viewer? Does the placement of the camera make sense?
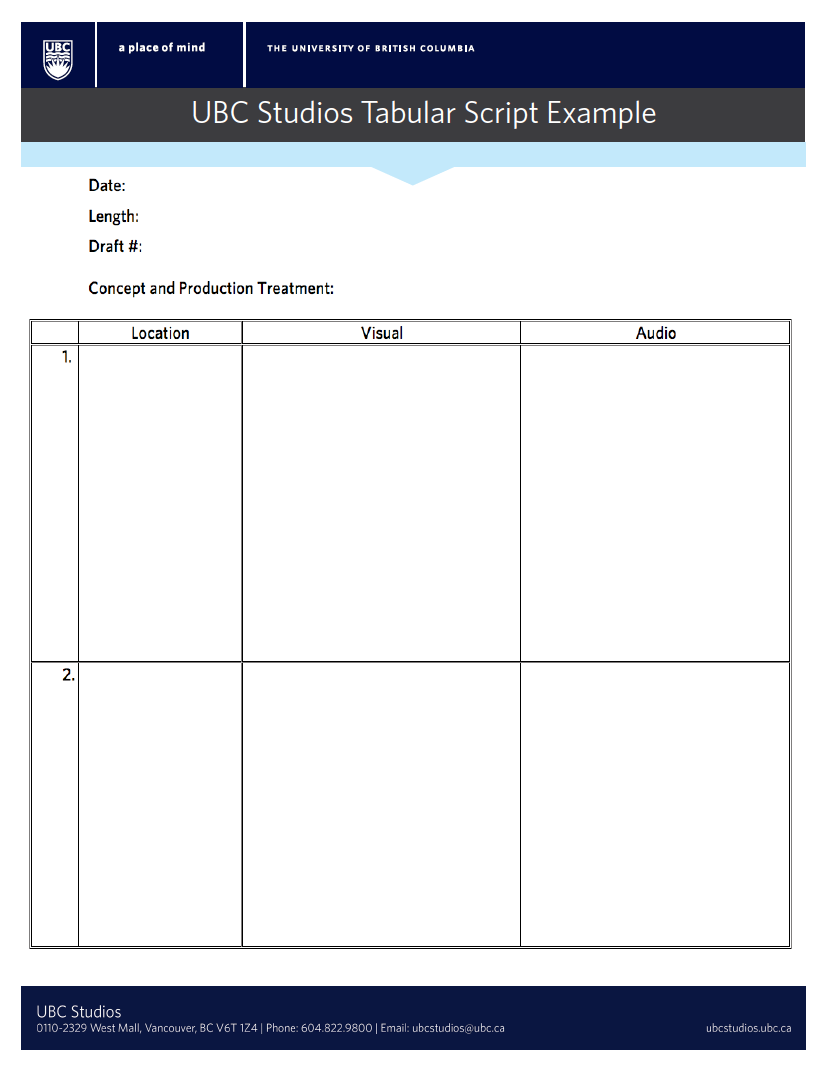
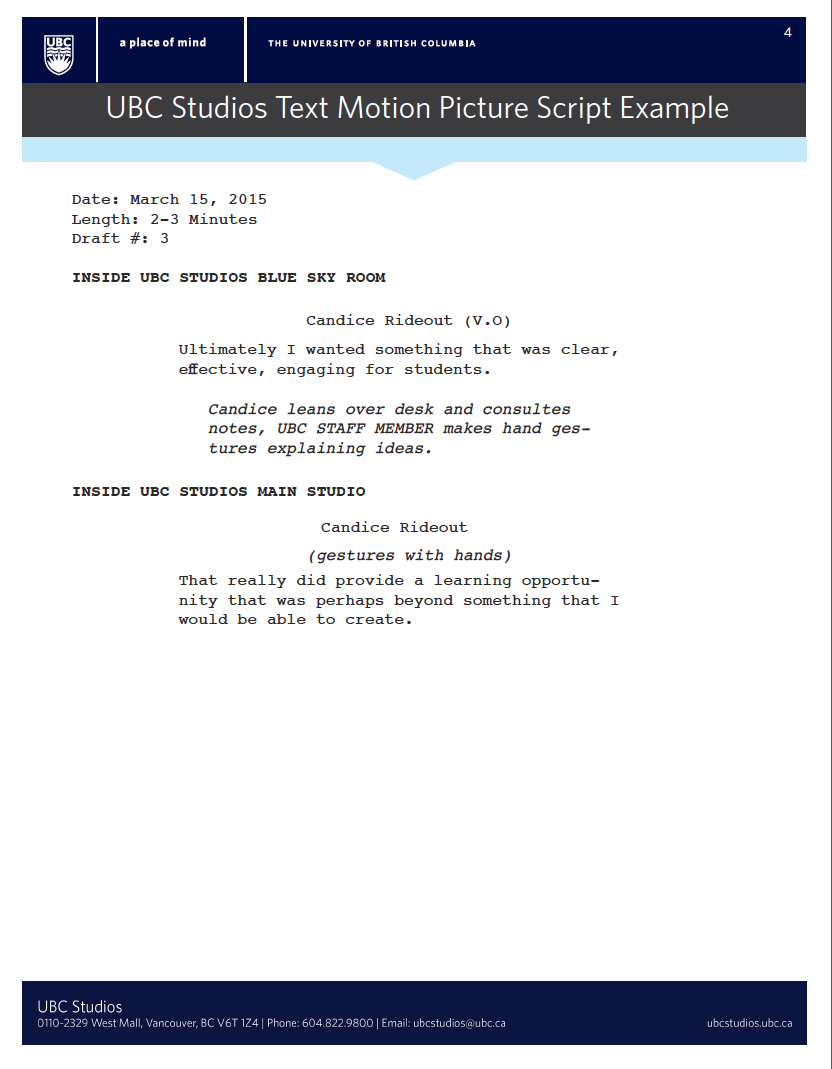
2. Write a Script
- The main objective of a 360 video is to immerse the viewer and putting the viewer in someones shoes, both literally and figuratively. The ideal 360 Video should be between 1 and 3 minutes. If dialogue is taking place, or specific actions will be happening within the scene, it is a good idea to write a script with your talking points and corresponding time markers for actions so when you are actually recording, your thoughts are clearly laid out for you. It's also important to identify the perspective and direction you want users to look during the video and to highlight sound queues or visual queues that will direct the viewer to follow the action that is taking place. The script does not have to be long, but should be precise and to the point.
1. Get Set Up
- Find a open area with enough light to place your 360 Camera
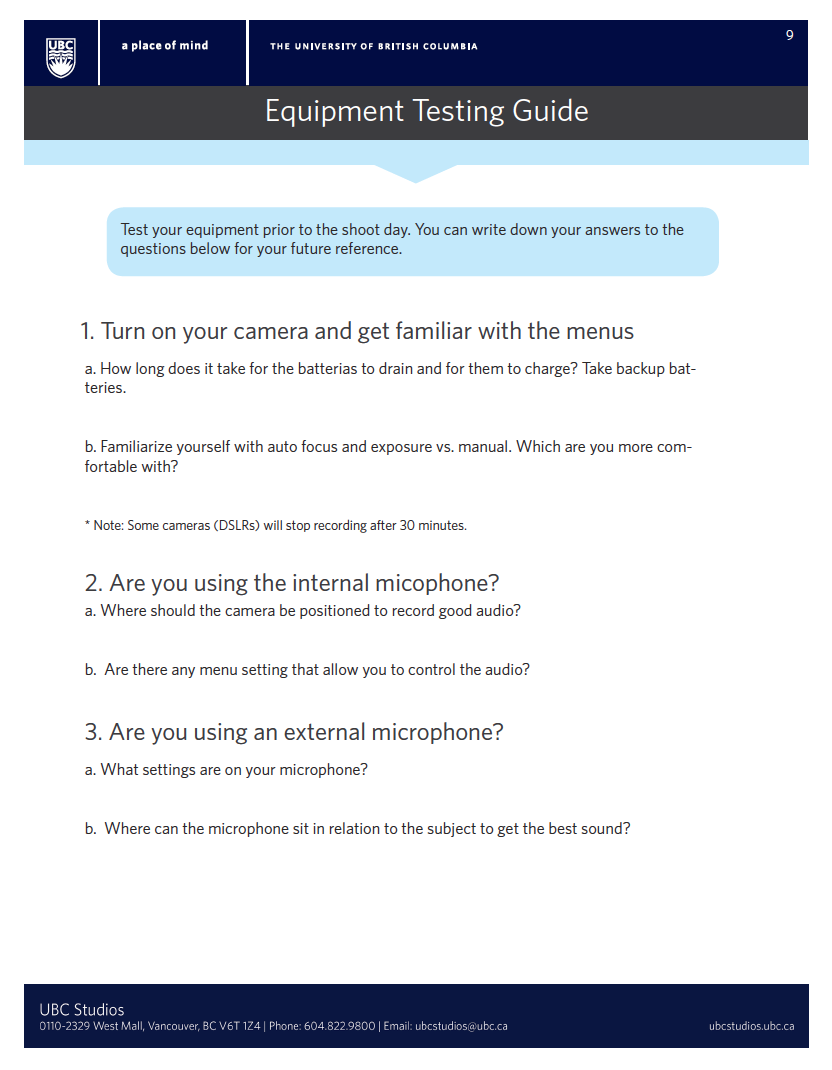
- Make sure that the memory card is clear and that your camera is calibrated correctly (if applicable)
- Adjust any settings using the preview application on your phone (if applicable) - does the mic gain need to increase, are you in video mode? Do you need to adjust exposure?
- A common problem in 360 Video is stitch lines running across important subjects, make sure that a camera lens is facing the direction of where the action is occurring.
- Make sure any Camera operators or supporting crew are not in the room or well hidden - remember, the camera captures everything around it!
2. Record
- Once you are all set up, it's time to record.
- Allow the camera to roll for 2-3 seconds before you start action. If taking multiple shots, it is important to use a slate or some type of audio queue to identify which take you are on.
- Once you're done your first take, preview the footage if possible to see if there is anything distracting occurring within the shot, or if any subjects or standing in a stitch line. We want to make sure that there is as little post production as possible. This will also be a good time to check for audio quality and to make sure sound is being picked up.
1. Stitching your content
- Before starting anything, we need to stitch your 360 video together. Some cameras do this automatically after recording, but most of the higher quality cameras require you to do so afterwards. This is usually done so through free software that comes with your camera. Check out the manufacture sites of your camera to download this software. (Applicable for Insta360, Vuze, GoPro). If you find that there are major stitch issues, there are software that is available to fix these problems. MistikaVR and Autopano by Kolor are both examples of this.
2. Choosing Editing Software
- There are a few different options when it comes to editing software. The most popular and best choice is Adobe Premiere. Adobe Premiere is a little more difficult to get the hang of but it has more features than most video recording applications. With Adobe Premiere the payoff is huge if you take the time to learn it, as it is also the industry standard for video editing and especially useful for 360 video. The program gives you options to create graphics and visual effects and you can produce and edit your own video to create a final video product appropriate for different devices with various formats. It also simplifies the 360 workflow as it has prebuilt settings that are made for 360 VR. Titles and images are able to be edited so that it fits with 360 video using specific special effects that we are able to drop in. We will go more into this later. The downside is that currently, it is only available on specific UBC computers as it is a paid subscription. Faculty and Staff from UBC do get this subscription for free, so you can contact UBCIT for an enterprise level license if this applies
- Another option is to use Camtasia. Camtasia is free for UBC Staff, Faculty and Students, available on the UBC Canvas Software Centre. The downside is that the program isn't built specifically for 360 video so you're only able to do basic transitions and cuts using this program. We will show you how to do so in this guide as well.
3. Editing Your Content
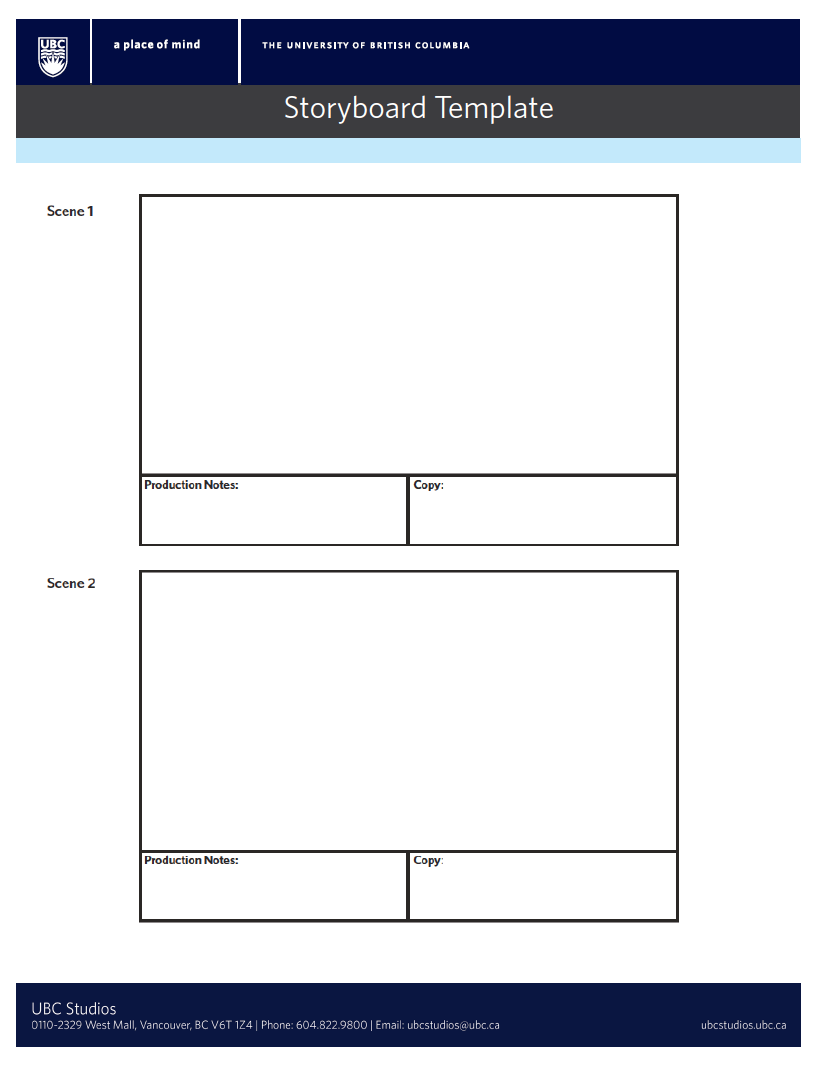
- After picking what software is right for you, start the editing process. This is when you can make those cuts where you made mistakes. For more advanced techniques you can color correct the footage, make cool transitions if your using more than one shot and add titles. Keep your script and storyboard at hand so you know what the end product needs to look like.
- Check out the tutorials below for more detailed instruction on how to use the different software.
4. Preparing for Upload
- If you edited and created your video in Adobe Premiere, make sure to just have the correct export settings and that's it! The best way to do so is to just use "match source" for the export settings."
- If you used Camtasia, then there is one more step that you will have to do, which is to inject your video with 360 Metadata (basically to let online platforms and video software to "know" that it is a 360 video). You can do so by using the Spatial Media Metadata Injection Tool. Instructions and Link to Software here.
Resources
Tools
Cameras for 360 Video.
UBC Studios offers a variety of 360 Cameras for educational purposes for UBC. Currently we have available for borrowing: Insta360 One, GoPro Fusion, Vuze XR, Theta V. All these cameras are capable of 4K recording and more. To borrow, please have an UBC instructor or staff contact us - we'll be happy to chat! if you are a student, please have your course instructor or workplace supervisor contact us.
For professional shoots, we are able to provide services using our Insta360 Pro which offers resolutions of up to 8K. Contact UBC Studios for more information.
How to use Adobe Premiere for 360 Video Editing.
COMING SOON.
How to use Camtasia 2019 for 360 Video Editing.
COMING SOON.


