When to Use Screencast
Screencast is a great medium for instructional use when creating a voice-over PowerPoint presentation or step-by-step on screen tutorial. A screencast allows the audience to see teaching materials on screen and hear the speaker’s explanation at once (option for talking head) creating an interactive learning experience. This is a popular choice for professors seeking a more personal touch to their project. It also offers more freedom and comfort, as it allows students to view them at their own pace and gives learners flexibility on where or when they can watch videos. In addition screencast gives the option for downloading videos for playback offline on computer or mobile devices. The following instructions will illustrate how to create a voice over Power Point screencast.
Stages of Production
1. Make a Slideshow
- One popular way to execute a voice over PowerPoint screencast is by creating a slideshow of all the material you want to cover first. You can make a slideshow on Powerpoint and then present and capture it though the screencast software Camtasia later on. Keep the slideshow simple. With what you want to say in mind, develop a visual skeleton that will engage viewers. This is a good place to put any graphs, videos and pictures.
- Another thing to keep in mind are the images used in your slides. Are they properly copyrighted? Make sure they are all copyright cleared or have a watermark so you don't run into any problems.
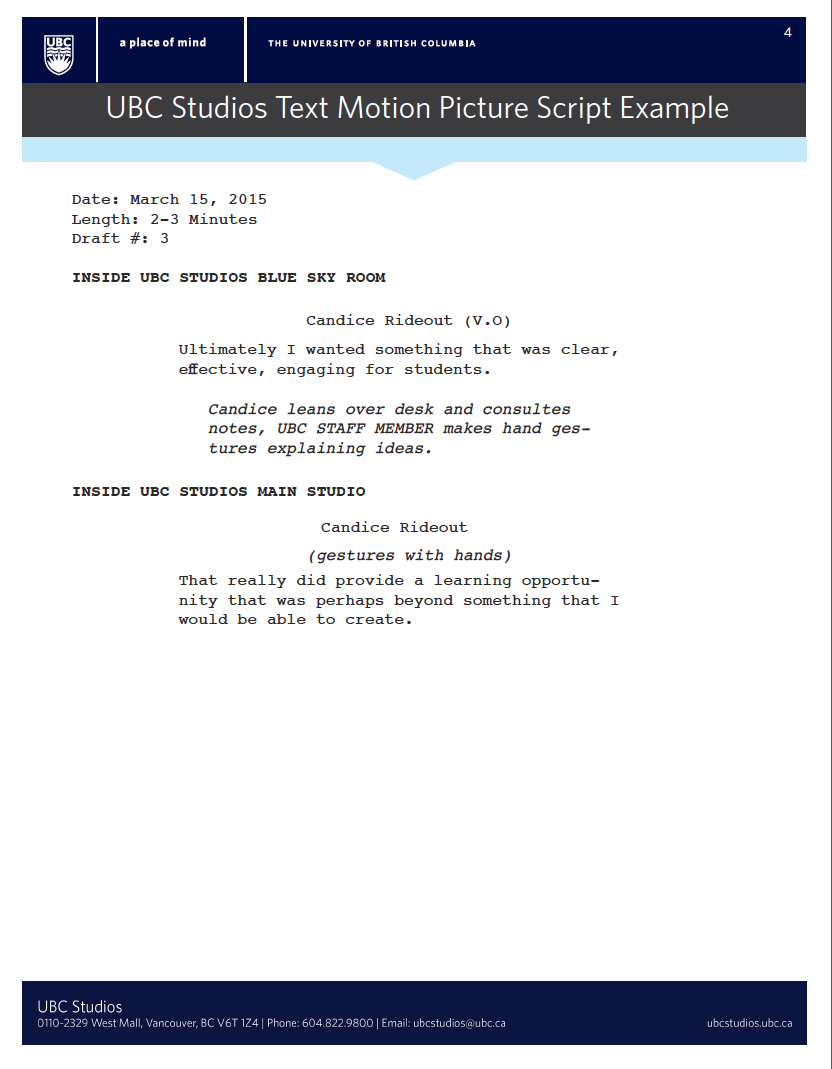
2. Write a Script
- The main objective of a screencast is to teach an audience material. The ideal screencast should be between 3 and 5 minutes. Therefore, it is really important that what you say in the screencast comes across clearly and concisely. It's a good idea to write a script with your talking points and corresponding time markers for each slide so when you are actually recording, your thoughts are clearly laid out for you. The script does not have to be long, and you do not have to read it word for word. The script's main purpose is to remind you of what you want to say during the screencast.
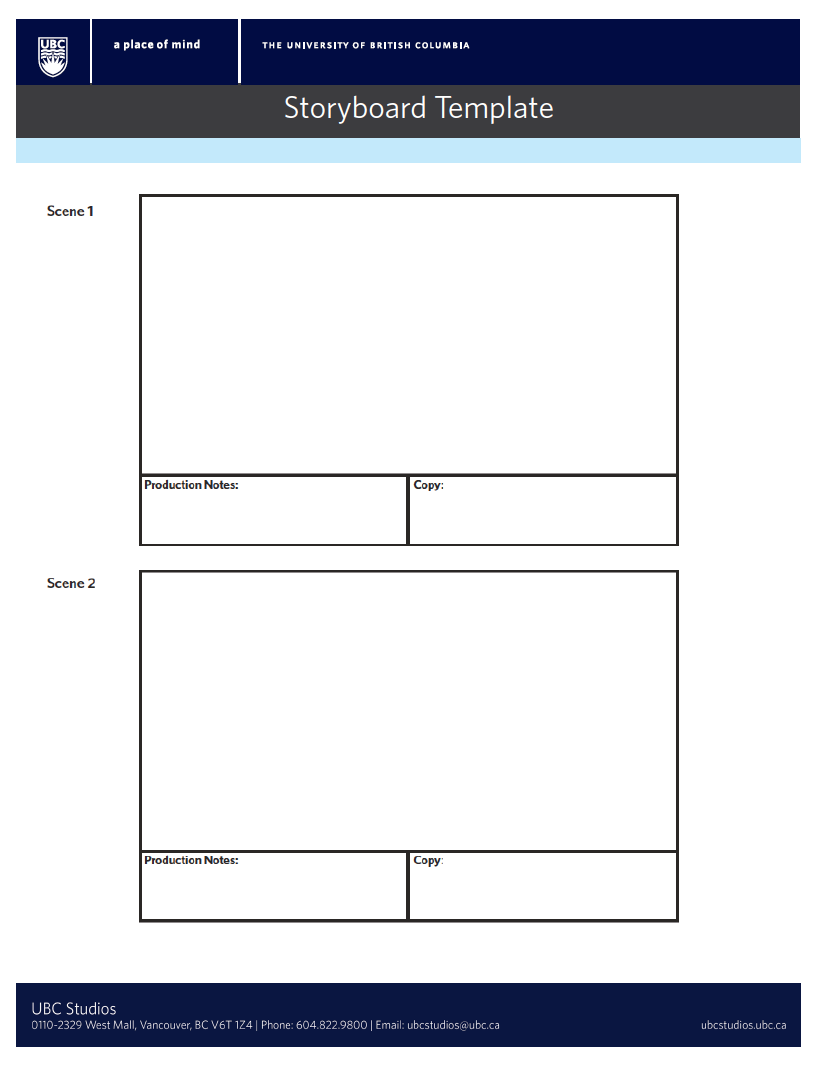
3. Draw a Storyboard
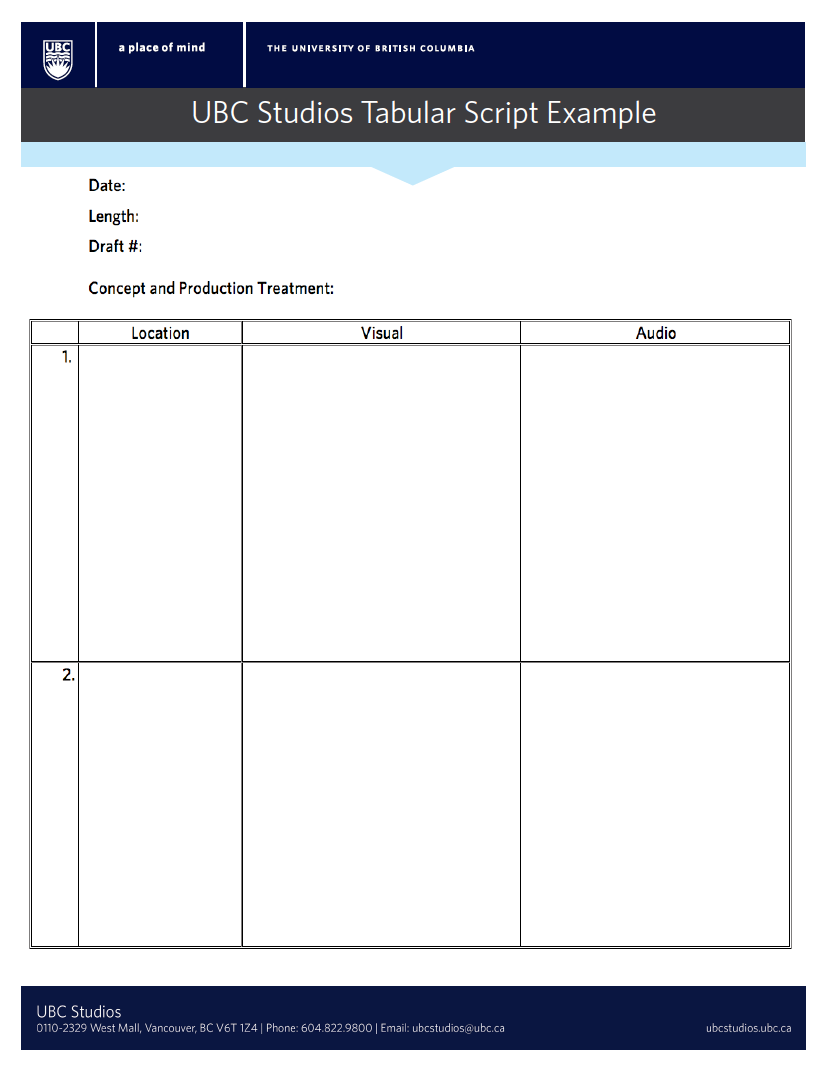
- If you have complex materials for your presentation or if you want to switch between your slides and talking head, it's a good idea to prepare a storyboard for your screencast. A storyboard outlines the sequence and outline of the content of the video. When preparing a storyboard make notes of what photos, diagrams or links you want to have on screen when you are recording. If you are using a slideshow, you can make note of what slide you want up for each talking point. Click here for a blank storyboard template.
4. Get the Content Ready
- After creating the script and storyboard pull together any additional online materials you might need in on top of the slideshow. For example, during the screencast you might want to switch to a new window to show a video, or maybe you have a handout you want the viewer to see. Collect all of these extras and have them ready to go on screen so when you hit record, the desktop will be easy to navigate with all of your materials ready. It would be a good idea to practice moving to different content on screen so you're comfortable with transitions.
1. Get Set Up
- Find a quiet place to record a screencast away from all distractions.
- Make sure your microphone and webcam are set up and working properly.
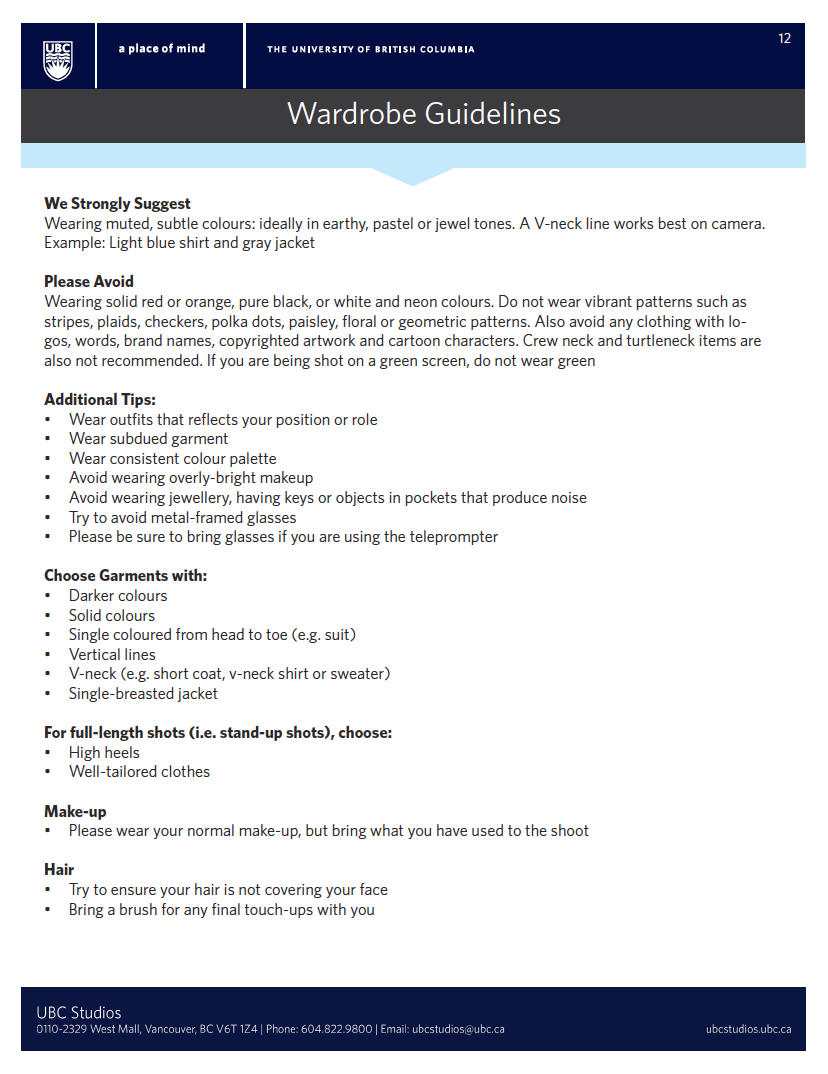
- If you are also talking head and recording yourself, be sure to film in a bright place with windows so the viewer can see you.
- A common problem during screencast recordings is poor sound levels. If you have a wireless microphone or USB headset, make sure it is not covered by any clothes or obstructions for the best results.
2. Record
- Once you are all set up, it's time to record. Relax. You can always edit in post-production if you make a mistake. If you make some minor mistakes during the recording, just pause for a few seconds and continue and the mistake can be cut later.
- Keep a standard pace. You don't want to go too fast, but you also don't want to go too slow either. It might take a while to get used to talking to a screen, but visualize yourself in a classroom and try to talk like you were talking to a group of students.
- Once you're done your first take, listen to it through and decide if you want to record the screencast again. If you feel like you want another go at it, record again. It's always better to have more footage than not enough.
1. Choose Your Software
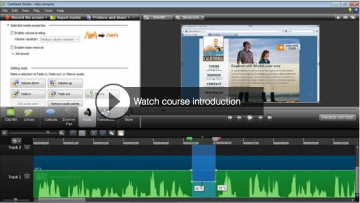
- There are a few different options when it comes to screencast editing software. The most popular is Camtasia. Camtasia is a little more difficult to get the hang of but it has more features than most other video recording applications. With Camtasia the payoff is huge if you take the time to learn it. The program gives you options to create illustrations, graphics and visual effects and you can produce and edit your own video and create a final video product appropriate for different devices with various formats.
- If you want a more cut and dry program Snagit is a popular software that is easy to use and gets the job done. The drawback with Snagit is that there is not as many features and you are limited in what effects you can use. (UBC faculty and staff can get Camtasia and Snagit for free)
- Jing is another smaller program that is even more straightforward than Snagit. It is very basic and easy to learn if you want to put a screencast together quickly. There are no editing capabilities but it is free for videos under five minutes.
2. Edit
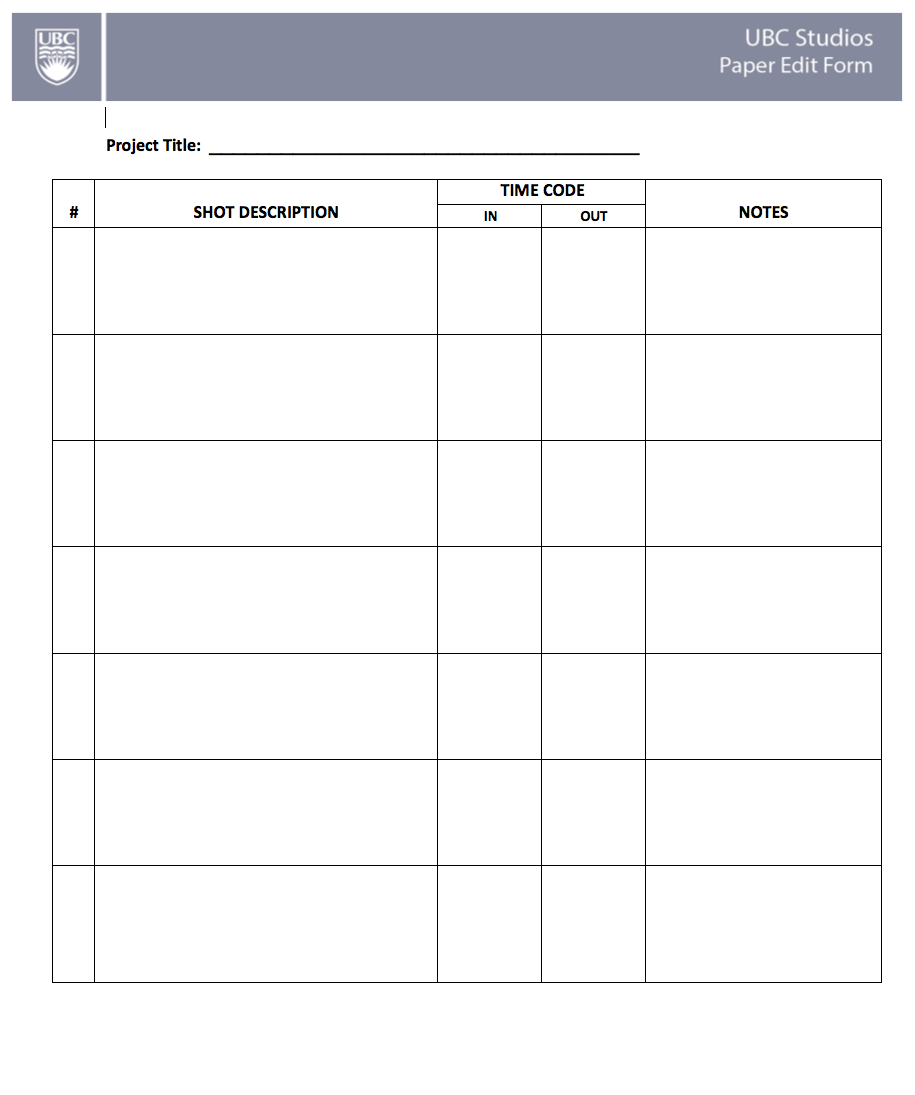
- After picking what software is right for you, start the editing process. This is when you can make those cuts where you made mistakes and re-record audio if some levels are off. Keep your script and storyboard at hand so you know what the end product needs to look like.
- Check out the tutorials below for more detailed instruction on how to use the different software.
3. Make Your Video Accessible
- To abide by UBC’s commitment to accessibility in Online Learning, you would want to prepare a transcript, captions and audio descriptions for your videos. Some students like to see a final script of the screencast so there is a hardcopy of the information covered. Also the audio descriptions and captions are helpful if viewers are hearing impaired. You can either have the transcript on the screen as subtitles, or if you find this distracting to the visual material, you can offer a link of a hardcopy students can download. In this case, the video transcripts must be provided in text, HTML or Word and must be immediately after the video or linked immediately after the video.
Resources
Tools
Camera and tripod
Wireless microphone
Camtasia
Snagit
Jing
Wacom Tablet (optional)

