When to Use Audio
Podcasts can be an effective storytelling tool. The four tools of a podcast are voice, sounds, music and silence, and it’s astonishing how far these can go to captivate listeners. Without visual distractions, podcasts are able to hone in on specific content and intimately engage the listener.
Stages of Production
1. Brainstorm
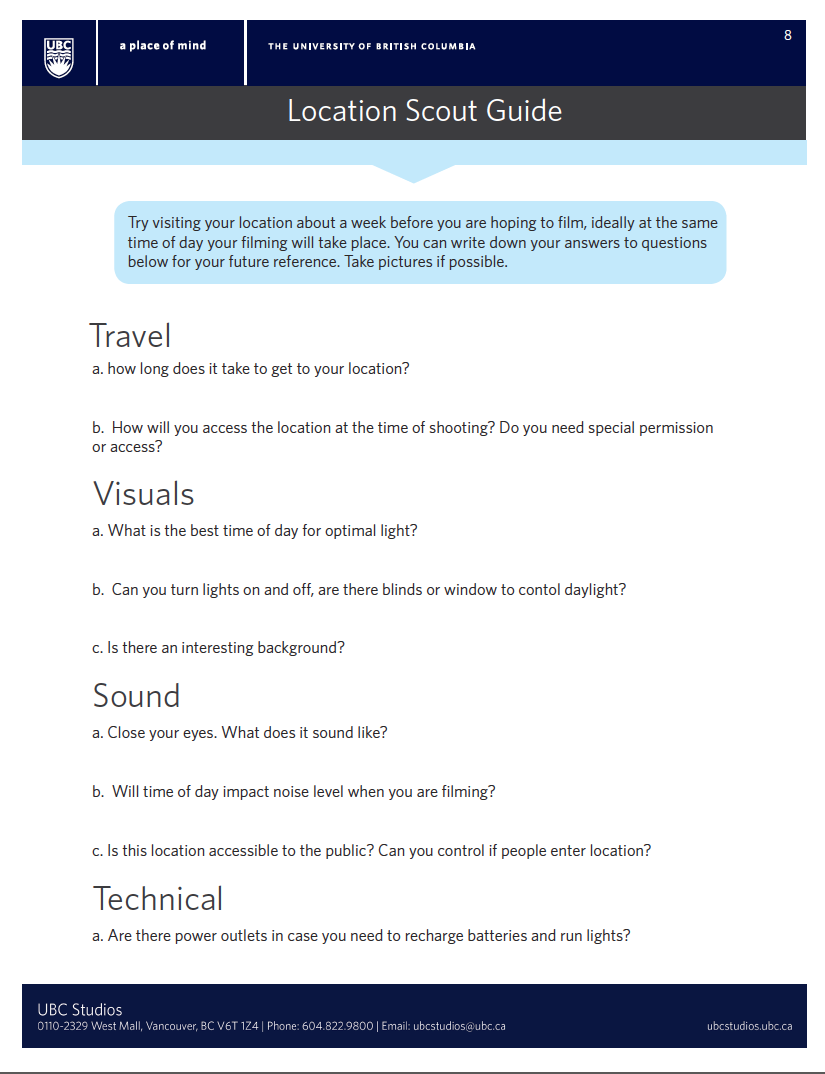
- Chances are you already have an idea of what you want your project to sound like. That's great! If not, think of radio and podcasts that you enjoy, and what makes them successful. It’s time to put your thoughts down on a page and get those creative juices going. At this step in pre-production don't worry about the details. Let your mind explore and start to connect the dots. Think of what you’re hoping to say, who you may want to speak with, and how you can use sounds to set scenes.
2. Write a Script
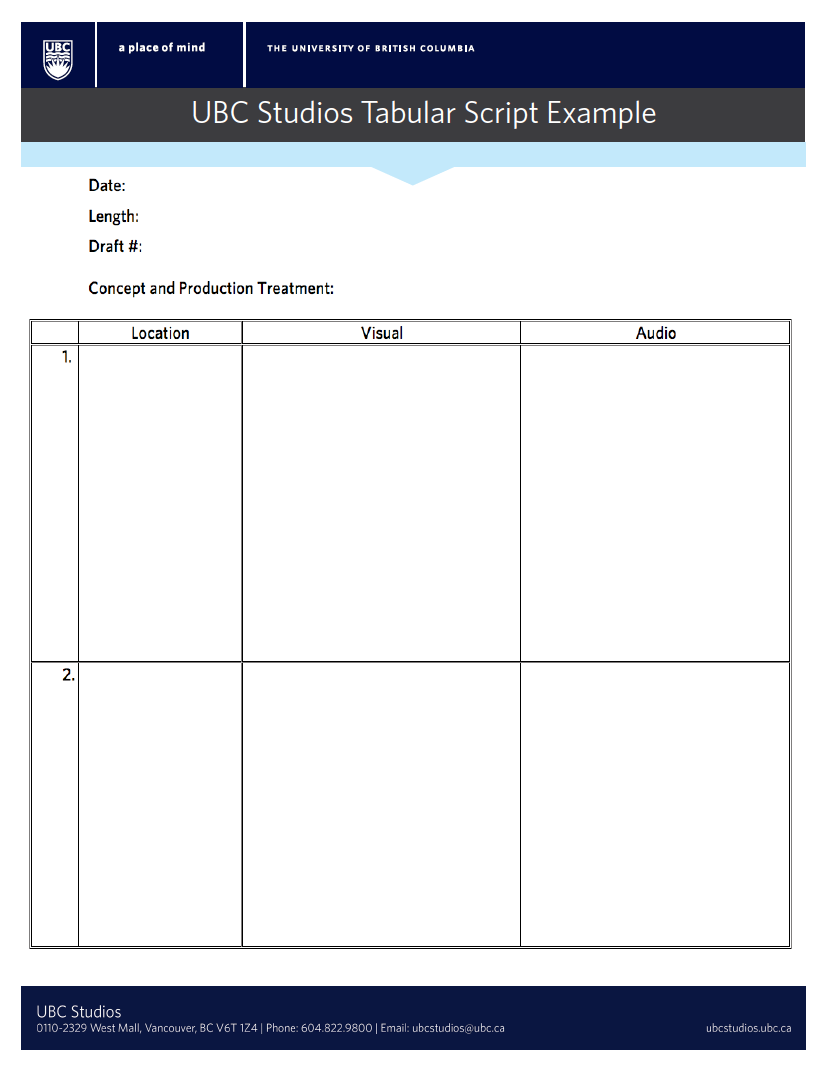
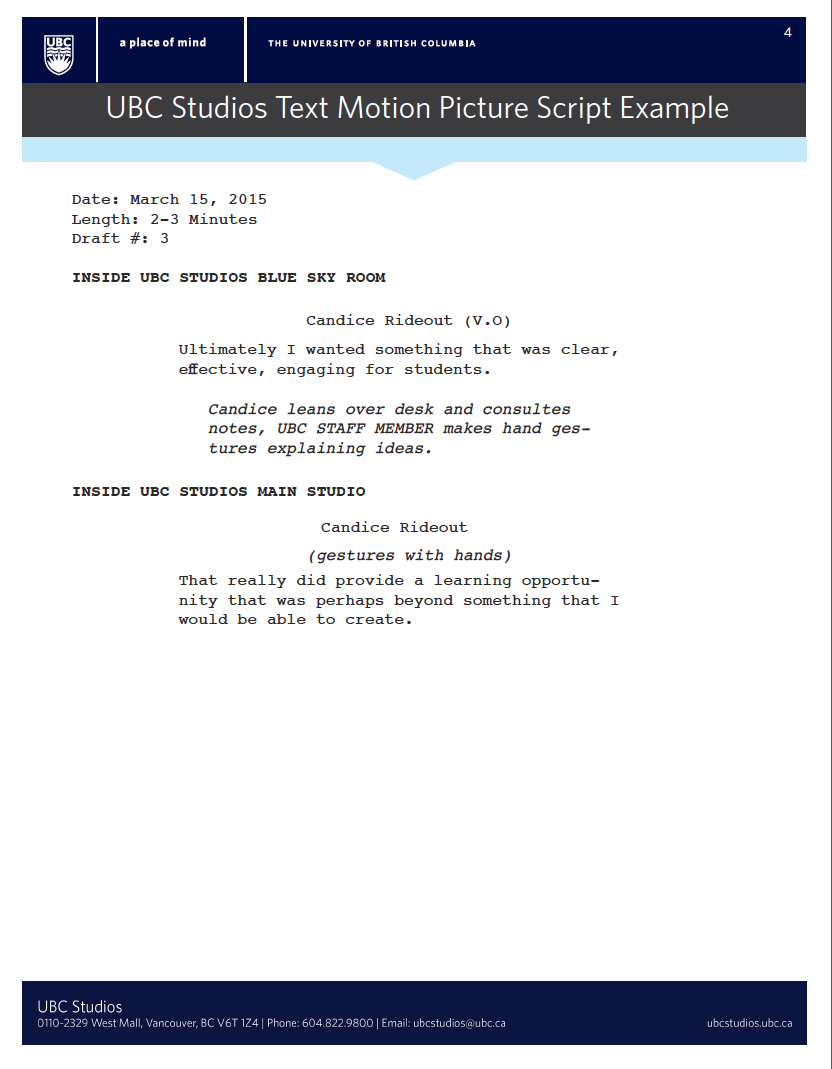
- Now it's time for more specifics. How will you take your ideas from step 1 and convey them to listeners? This may take some time to figure out, so be patient. Write down exactly what you want to be said in the podcast and any sound or music cues.
- Writing for the ear is very different than writing a report or an essay. You’ll need to perform the script comfortably, and listeners must be able to follow along with what you’re saying with no chance to re-read a line if it’s confusing. Here are some script-writing tips:
- One thought per sentence. Keep your sentences brief; this is not the time for a paragraph-long run-on sentence.
- Be concise. Avoid unnecessary description and use direct language.
- Be clear. Avoid jargon and, when possible, acronyms. If you’re using stats, round the numbers or use metaphors to convey meaning.
3. Book a Studio
- If you don't want to go through the trouble of renting a microphone and setting up your own recording station, studio spaces are available on campus. UBC’s campus radio station, CiTR 101.9 FM, has studio space available free to members and for a nominal fee for other campus users. At CiTR, you can record your own podcast and edit it all in one place. Alternatively, you could rent your own microphone and record your podcast at home. Make sure to get all of the proper equipment and familiarize yourself with how to use everything so when it's time to record the process will go smoothly.
1. Set Up
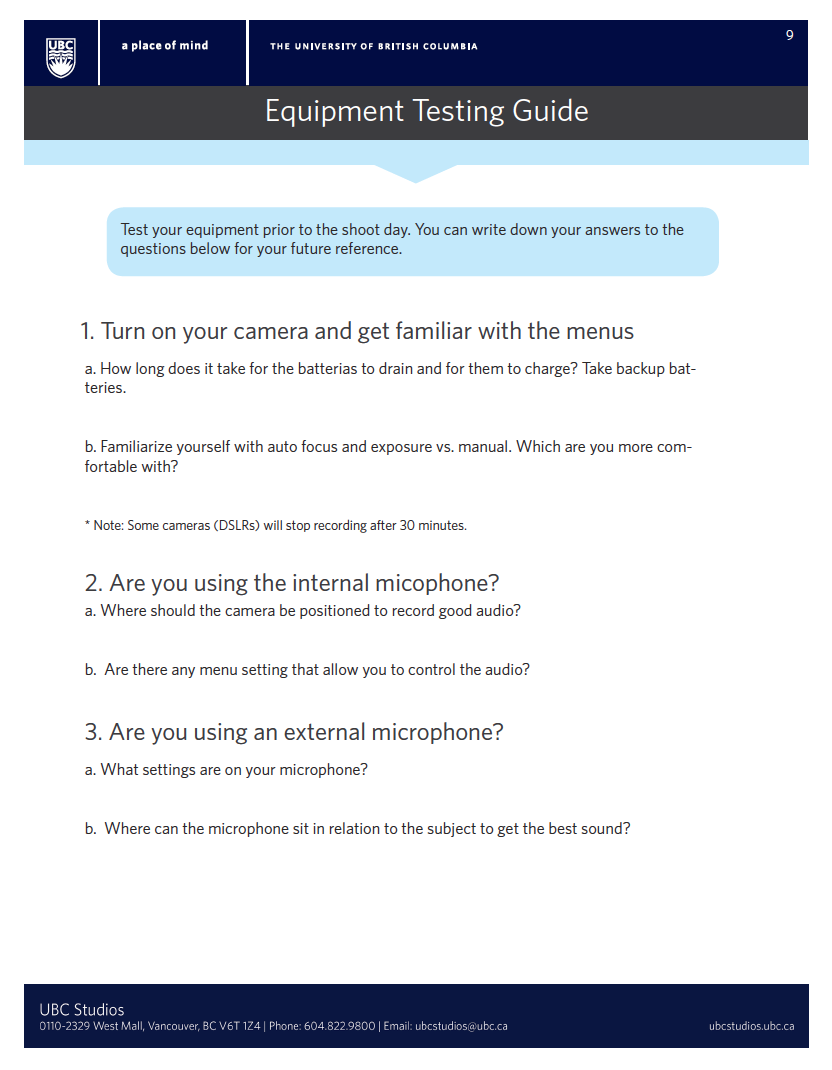
- Regardless if you are using a professional studio or you have made your own make-shift one at home, it's important to set up and get prepared before you start recording. Make sure you are approximately 3 inches away from the microphone to get the best levels (the average distance between an extended thumb and pinky).
- Check to see that the microphone and computer are connected properly. There's nothing worse than thinking you've recorded something and discovering the opposite! Using headphones while recording can help with this.
- Relax. Your voice is the only thing at work. Listeners can tell when someone is nervous or unsure of what they are talking about. Take a deep breath. Remember you can do as many takes as you want! Try clearing your throat or doing some simple vocal warm-ups to get your voice sounding its best. Avoid coffee or carbonated drinks; stick to water.
- Have your script at hand. Make sure to have your script so you know when and what to say.
2. Hit Record!
- Start recording! Get comfortable with your own voice, and know that most people find the sound of their recorded voice strange the first time they hear it. Feel free to record the podcast a couple of times so when it's time to edit you can choose the best take. Try to use your natural speaking voice, don’t try to force your voice to do something that it isn't accustomed to.
1. Back up
- It's a good idea to save all of your audio files in a safe place before you start to edit and make changes. Keep the original recordings, in case you need to revisit them. MP3 files are typically smaller than MP4 (video) files so your everyday USB stick will do.
2. Listen
- Listen to what you recorded. Make note of the minute markers on parts you want to keep so when you start to edit it will be easy to select the clips.
3. Edit!
- Familiarize yourself with audio editing programs like Audacity or Garageband. If you are new to the programs, watch a few tutorials first to get the hang of the interface.
- Put together your podcast! Keep you script and notes you made in step 2 close at hand to speed up the process and remind yourself of the direction you want to go. It can get overwhelming the more files you have but keeping the end product in mind helps give the editing process focus.
- If you are using Audacity, be mindful of saving often. Saving yields two items: an .aup file and a _DATA folder. Both of these need to be kept together if you wish to re-open your project and continue editing.
- Once you feel like you've made all of the edits needed and you've listened to it through, export it as an MP3 and you're set! MP3s exported at 192kbs will sound superb, although it’s fine to go as low as 128kbs. Exporting lower than 128kbs can cause the sound to be tinny, and above 192kbs is most likely overkill, generating a needlessly large file.
4. Share!
- Think of ways to share your podcast. You can host your mp3 on a site like Soundcloud, or post it to a blog. Then share it with your friends and colleagues.
Resources
Tools
Studio Space
Headphones
Wireless microphone
USB Stick
Audacity
Garageband
Garageband (Mac):
Audacity (PC):
UBC Examples
Arts One, Jill Fellows
Example of a lecture recording turned into a podcast for later use.
Nardwuar The Human Serviette, CiTR 101.9 FM
Nardwuar’s show The Human Serviette is an example of a podcast with everything. He’s got music, interviews and spoken word to create one of the most popular shows on CiTR 101.9 FM.
Who is Mother Earth, LFS 400
Student made podcast for an LFS 400 class. Great example of using audio to tell an engaging story.
Arts Report, CiTR 101.9FM
The Arts Report is an example of a culturally important spoken word show. Good example of how to conduct live interviews and use different content to keep the show engaging.


